
Hello there. I’m Adam Steele. If you are reading this, you’ve likely decided to take control of your fitness journey, and for that, I commend you. There is a lot of noise in the fitness industry fancy machines, complex algorithms, and “miracle” supplements. But the truth? The iron doesn’t lie. And specifically, a simple pair of dumbbells doesn’t lie.
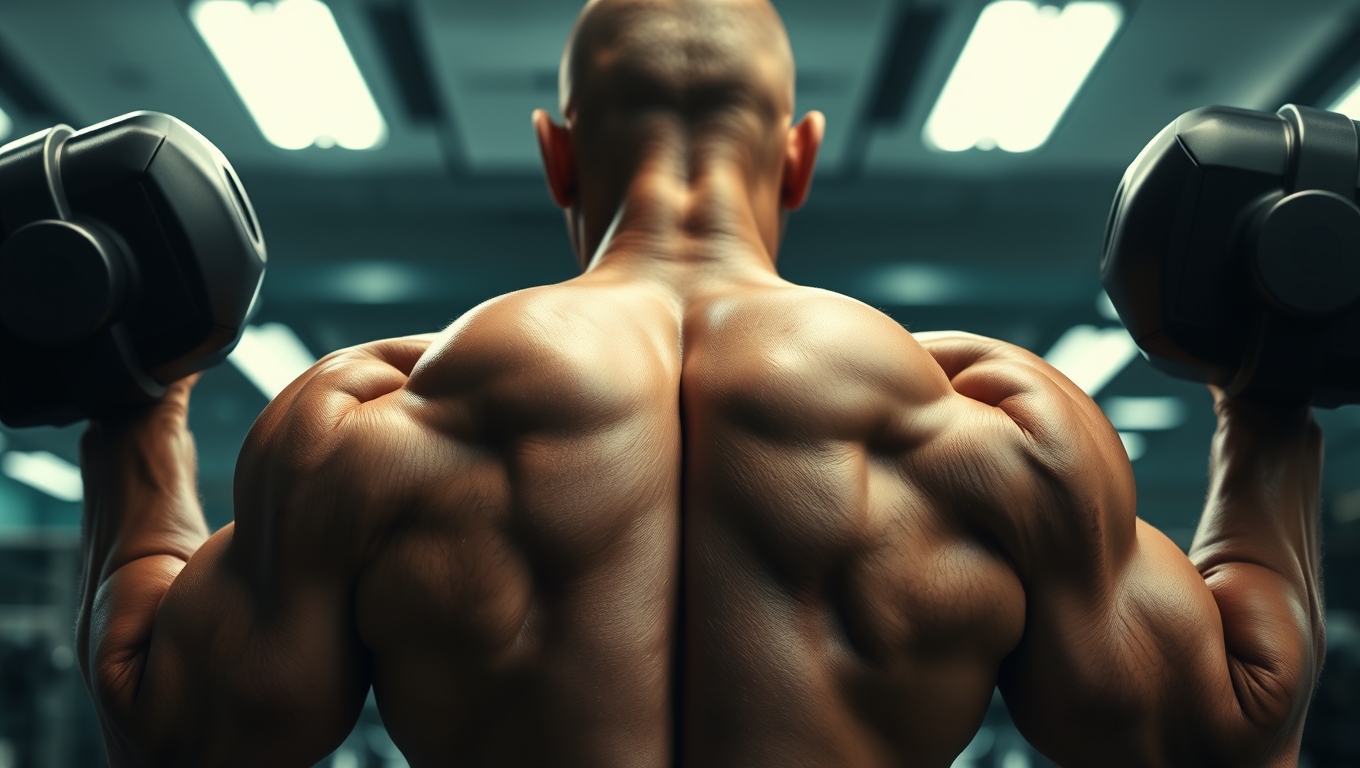
Today, we are going to strip away the complexity and focus on one of the most aesthetically pleasing and functionally essential combinations in bodybuilding and general fitness: the pull muscles. I have designed this guide specifically for beginners who want to build a V-tapered back and sleeves-bursting arms without needing a gym membership. Welcome to your ultimate dumbbell back and bicep workout.
Why the Back and Bicep Duo is a Beginner’s Best Friend
In the world of program design, we often group muscles by their function. Your back muscles (the latissimus dorsi, rhomboids, and trapezius) are your primary “pulling” muscles. They are the engines that allow you to pull things toward your body. However, they don’t work alone. Your biceps are the secondary movers in almost every compound back movement.
Think about it: when you perform a row, your back does the heavy lifting, but your biceps assist by flexing the elbow. Because these muscle groups work in such perfect synergy, training them together in a single session is incredibly efficient. You fatigue the biceps while hitting the back, and then you finish them off with isolation work.
For a beginner, this structure prevents overtraining. Instead of trying to hit every body part every day, you are dedicating focused energy to a specific movement pattern. This dumbbell back and bicep workout is designed to maximize that synergy, ensuring you get the most muscular development for your time investment.
The Benefits of a Dumbbell Only Routine: Flexibility and Efficiency
Let’s address the elephant in the room: Do you really need a barbell or a cable machine to build muscle? Absolutely not. In fact, a dumbbell only routine offers unique advantages that machines simply cannot replicate, especially for those just starting out.
First, dumbbells force you to stabilize the weight. When you use a machine, the path of motion is fixed. When you use dumbbells, your smaller stabilizing muscles have to fire to keep the weight moving in a straight line. This leads to better overall functional strength and core activation.
Second, dumbbells allow for unilateral training meaning you can train one side at a time. Most people have a dominant side (usually the right side for right handed people). If you use a barbell, your dominant side often overcompensates for the weaker side. A dumbbell only routine exposes these imbalances immediately, allowing you to correct them before they lead to injury or asymmetry.
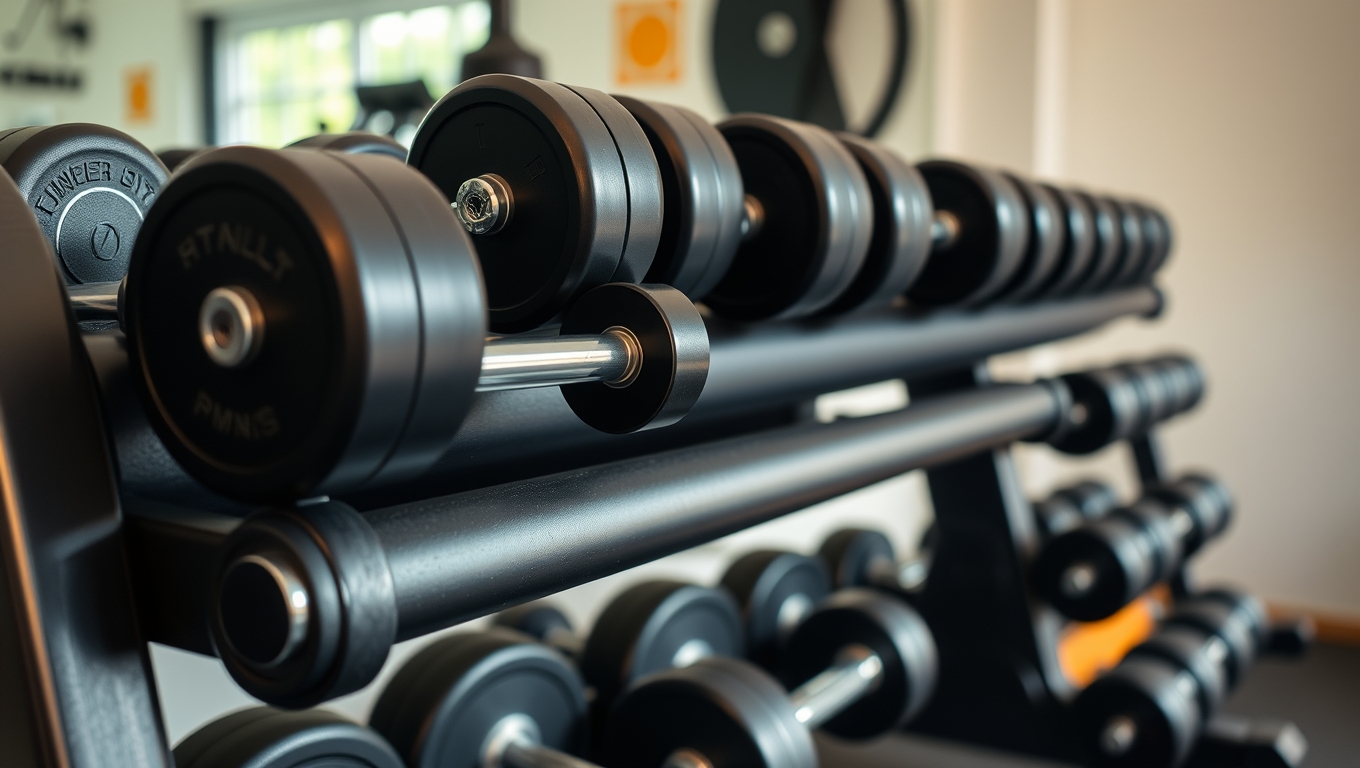
Choosing the Right Gear: Why Adjustable Dumbbells are a Worthy Investment
If you are training at home, space is often a luxury you don’t have. This is where adjustable dumbbells become a game-changer. Instead of buying a rack of 10 pairs of dumbbells that take up an entire wall and cost a fortune, adjustable dumbbells allow you to change the resistance with the turn of a dial or the movement of a pin.
For this workout, you will need a weight range that challenges you. The back is a large, powerful muscle group. While you might curl 15 lbs, you might be able to row 30 or 40 lbs. Adjustable dumbbells give you the versatility to jump between heavy compound movements for your back and lighter isolation movements for your biceps without missing a beat. They are, in my professional opinion, the single best investment a beginner can make for their home gym.
Pre-Workout Essentials: A Dynamic Warm-up for Pulling Movements
Before we touch the iron, we must prime the engine. You should never jump into a dumbbell back and bicep workout with “cold” muscles. We need to increase blood flow to the lats and lubricate the elbow joints.
Perform this dynamic circuit twice before starting:
- Arm Circles: 30 seconds forward, 30 seconds backward. Big, sweeping motions.
- Torso Twists: Stand with feet wide and gently twist side to side to loosen the lower back.
- Air Rows: Extend your arms in front of you and pull your elbows back hard, squeezing your shoulder blades together. Do 20 reps.
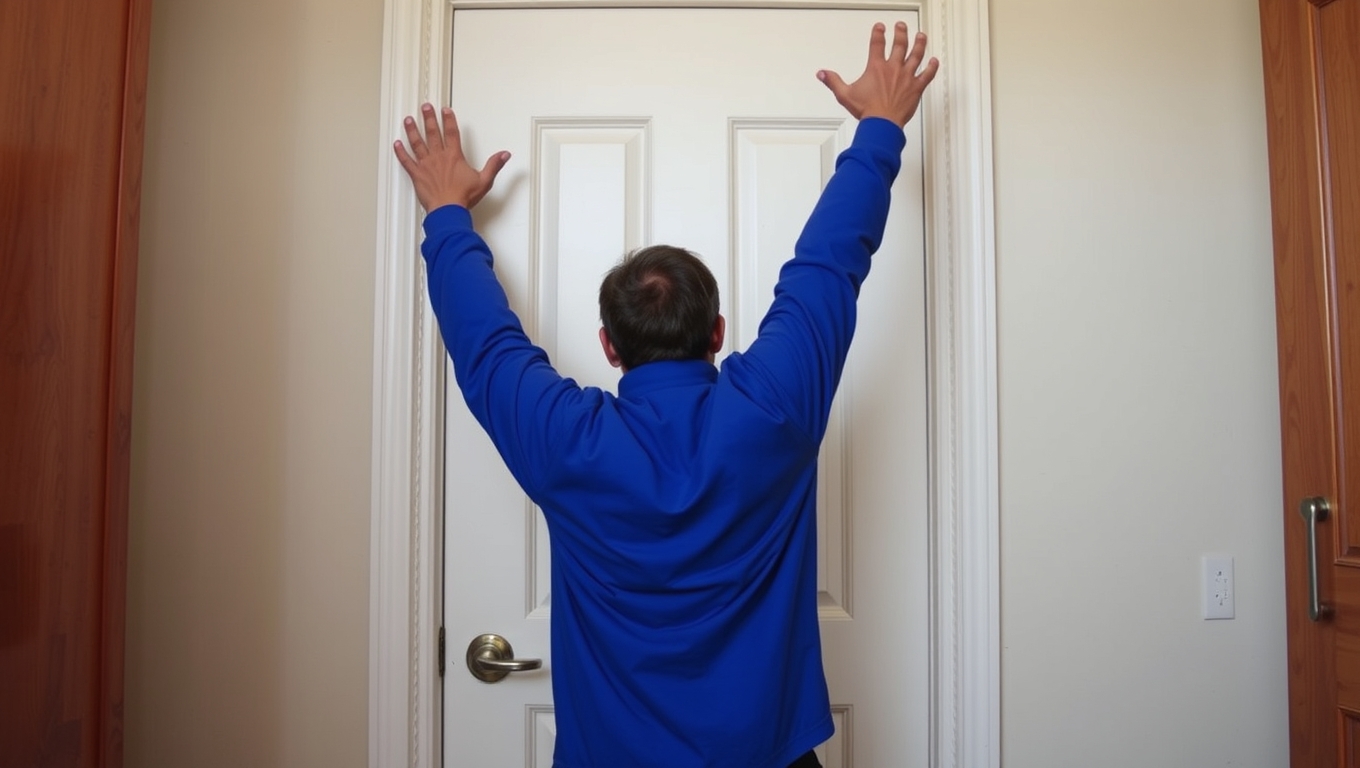
- Wall Slides: Stand with your back against a wall, arms up like a goalpost. Slide your arms up and down while keeping contact with the wall. This wakes up the rotator cuff.
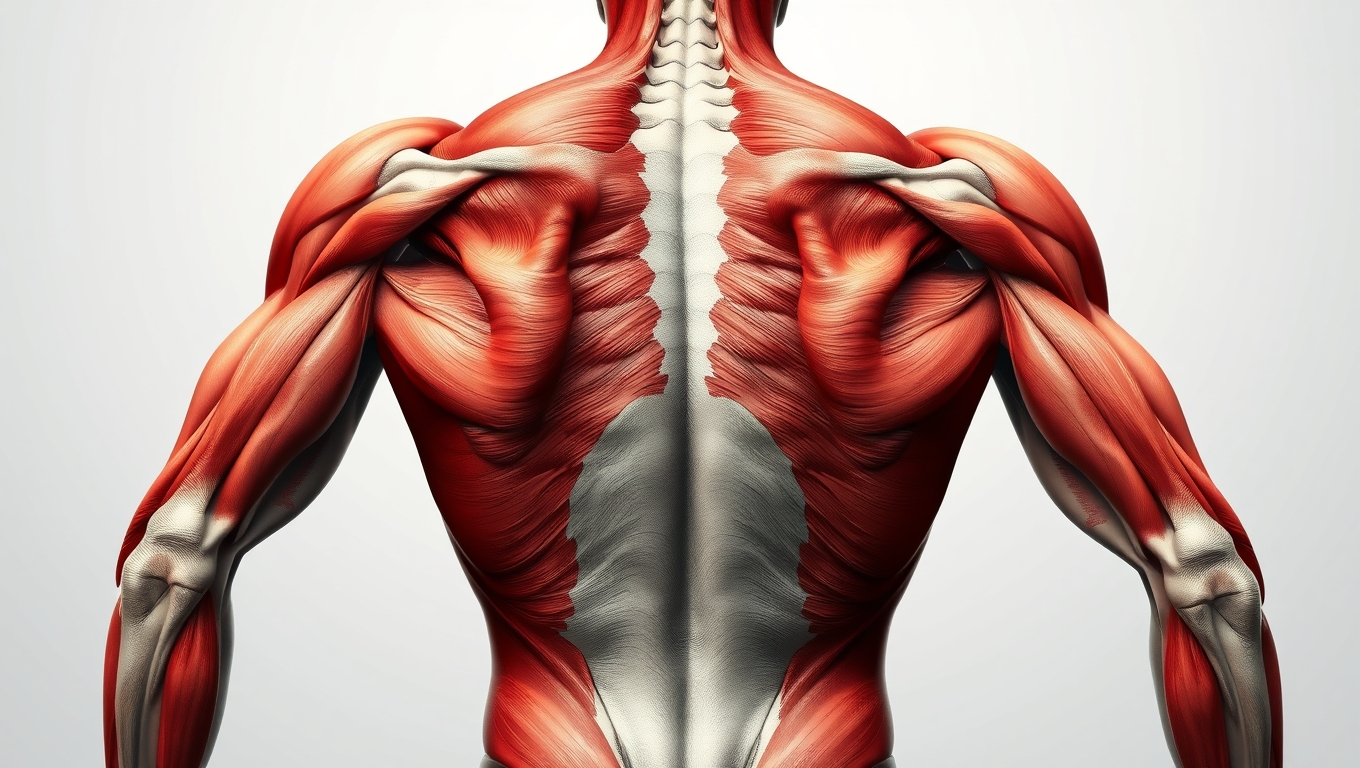
The Anatomy of Your Pull Muscles: Back and Biceps Explained
To train effectively, you need to know what you are visualizing. The “mind-muscle connection” isn’t just bro-science; it is a legitimate way to recruit more muscle fibers.
- The Lats (Latissimus Dorsi): These are the big “wings” on the side of your back. They create that V-shape. Their main job is to pull the upper arm down and back.
- The Traps and Rhomboids: These run down the center of your upper back. They are responsible for retracting your shoulder blades (squeezing them together). Thick rhomboids give your back that detailed, 3D look.
- The Biceps Brachii: The two-headed muscle on the front of your upper arm. Responsible for elbow flexion.
- The Brachialis: A muscle sitting underneath the bicep. Developing this pushes the bicep up, making your arm look thicker.
Developing Back Strength: Mastering Single Arm Rows with Proper Form
The cornerstone of any great back workout is the row. Specifically, single arm rows are arguably the best back builder for beginners using dumbbells. This movement allows for a massive range of motion and high load capacity.
How to do it:
- Place your left knee and left hand on a sturdy bench (or a sturdy chair/coffee table if you are at home). Your back should be flat, like a tabletop.
- Hold the dumbbell in your right hand, arm fully extended toward the floor.
- The Pull: Initiate the movement by driving your elbow back toward your hip. Do not just pull up with your bicep; think about sawing a piece of wood.
- Squeeze your back muscle at the top, then slowly lower the weight back to the start.
- Repeat for reps, then switch sides.
Adam’s Pro Tip: Do not rotate your torso. Keep your chest pointing at the floor the entire time. If you have to twist your body to get the weight up, the dumbbell is too heavy. Single arm rows require strict form to effectively target the lats rather than using momentum.
Mid-Back Power: The Dumbbell Bent Over Row for Beginners
While single-arm work is great for isolation, the bilateral (two-arm) bent-over row is a powerhouse for thickening the mid back and traps. It requires more core stability, which raises the intensity of your dumbbell back and bicep workout.
How to do it:
- Stand with feet shoulder width apart, holding a dumbbell in each hand.
- Hinge at the hips, pushing your glutes back until your torso is almost parallel to the floor. Keep a slight bend in your knees.
- Keep your spine neutral (do not round your lower back).
- Pull both dumbbells toward your stomach, squeezing your shoulder blades together at the top.
- Lower with control.
Common Mistake: Standing up too straight. If you are too upright, you turn this into a shrug, which works your upper traps, not your back. Stay low to grow.
Building Bicep Peaks: The Classic Dumbbell Bicep Curl
Now that the heavy back work is done, your biceps are warm and ready for isolation. The classic curl is simple, but often performed poorly.
How to do it:
- Stand tall with a dumbbell in each hand, palms facing your thighs.
- Keep your elbows pinned to your ribs. They should not move forward or backward.
- Curl the weights up, rotating your palms so they face the ceiling (supination) as you lift.
- Squeeze hard at the top, then lower slowly.
Adam’s Pro Tip: The magic is in the rotation. twisting your pinky finger upward at the top of the movement forces the bicep to contract fully. This is how you build that mountain-peak shape.
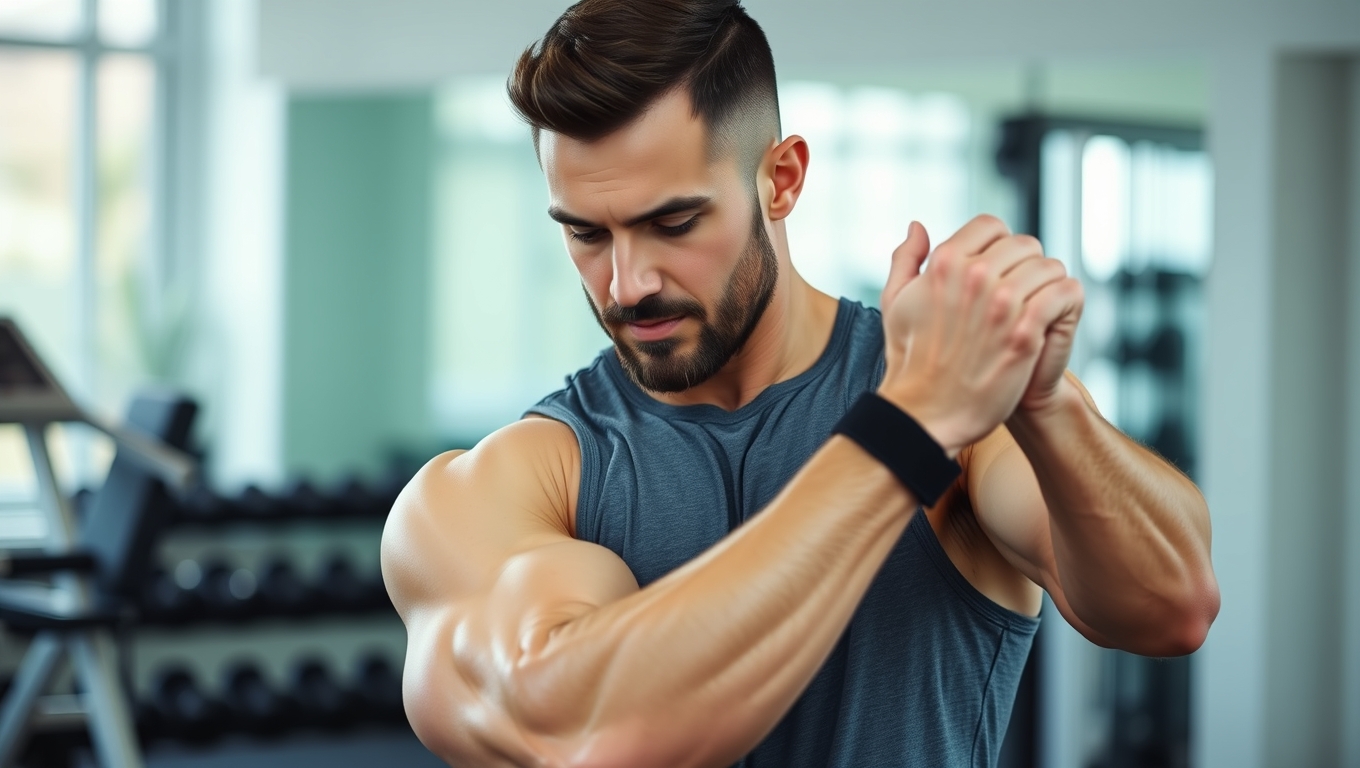
Developing Grip and Forearm Strength: The Role of Hammer Curls
We cannot talk about big arms without discussing the brachialis and the forearms. This is where hammer curls come into play. By changing your hand position, you shift the focus from the biceps brachii to the brachialis and the brachioradialis (forearm).
The Role of Hammer Curls in your routine is to add thickness to the arm. When looking at your arm from the front, a well developed brachialis adds width.
How to do it:
- Stand just like you did for the standard curl.
- Keep your palms facing your body (neutral grip) for the entire movement. Think of holding a hammer.
- Curl the weight up toward your shoulder without rotating your wrist.
- Lower with control.
This movement is essential because it also improves your grip strength, which will, in turn, help you hold heavier weights during your single arm rows and other back movements.
A Complete Sample Dumbbell Back and Bicep Workout Plan
Here is a routine you can perform 1-2 times per week. Ensure you have at least two rest days between these sessions to allow for recovery.
| Exercise | Sets | Reps | Rest | Notes |
|---|---|---|---|---|
| 1. Single Arm Rows | 4 | 8-12 per side | 60 sec | Go heavy here. Focus on the stretch. |
| 2. Dumbbell Bent-Over Rows | 3 | 10-12 | 60 sec | Focus on the squeeze at the top. |
| 3. Dumbbell Pullovers | 3 | 12-15 | 45 sec | Lie on a bench/floor. Keep arms slightly bent. |
| 4. Dumbbell Bicep Curls | 3 | 10-12 | 45 sec | Rotate pinky up at the top. |
| 5. Hammer Curls | 3 | 12-15 | 45 sec | Keep grip neutral. Burn out the forearms. |
Note: If you have adjustable dumbbells, try to increase the weight slightly for the first two exercises (the compound movements) compared to the isolation exercises.
Expert Tips for Progression: When to Increase Your Weights
One of the biggest questions I get is, “Adam, when do I go heavier?” The answer lies in the principle of Progressive Overload.
If your program calls for 8-12 reps, and you can easily hit 12 reps with perfect form—meaning no swinging, no cheating, and feeling in control—it is time to level up. If you have adjustable dumbbells, click it up to the next increment (usually 2.5 or 5 lbs).
When you increase the weight, you might only be able to do 8 reps. That is perfect. Stay at that weight until you can build back up to 12 reps, then increase again. This cycle is how strength is built. Consistency beats intensity every single time.
Cooling Down: Important Stretches to Improve Recovery and Flexibility
You’ve done the work; now you need to aid recovery. Tight lats can pull on your shoulders and cause posture issues, so stretching post-workout is non-negotiable.
- Lat Stretch: Find a doorframe or a sturdy post. Grab it with one hand at waist height. Lean back and twist your hips away from your hand. You should feel a deep stretch all the way down the side of your back. Hold for 30 seconds per side.
- Bicep Wall Stretch: Place your palm flat against a wall with your arm extended straight back. Gently turn your body away from the wall until you feel a pull in the bicep and chest.
- Child’s Pose: If you have a mat, kneel on the floor, sit back on your heels, and reach your hands forward as far as possible on the floor. This decompresses the spine and stretches the lats.
Final Thoughts: Staying Consistent and Encouraging Small Wins
Listen, building a physique takes time. You aren’t going to look like a superhero after one dumbbell back and bicep workout. But you will feel better. You will feel “pumped.” And slowly, week by week, your shirts will start to fit a little differently.
The beauty of a dumbbell only routine is that it removes excuses. You don’t need to drive to the gym. You don’t need to wait for a machine. You just need your gear and your grit.
Celebrate the small wins. Did you do one more rep than last week? That’s a win. Did you perfect your form on the row? That’s a win. Keep showing up, keep pulling, and let the iron do the rest.
You’ve got this. Now, go lift something heavy.
Adam Steele