

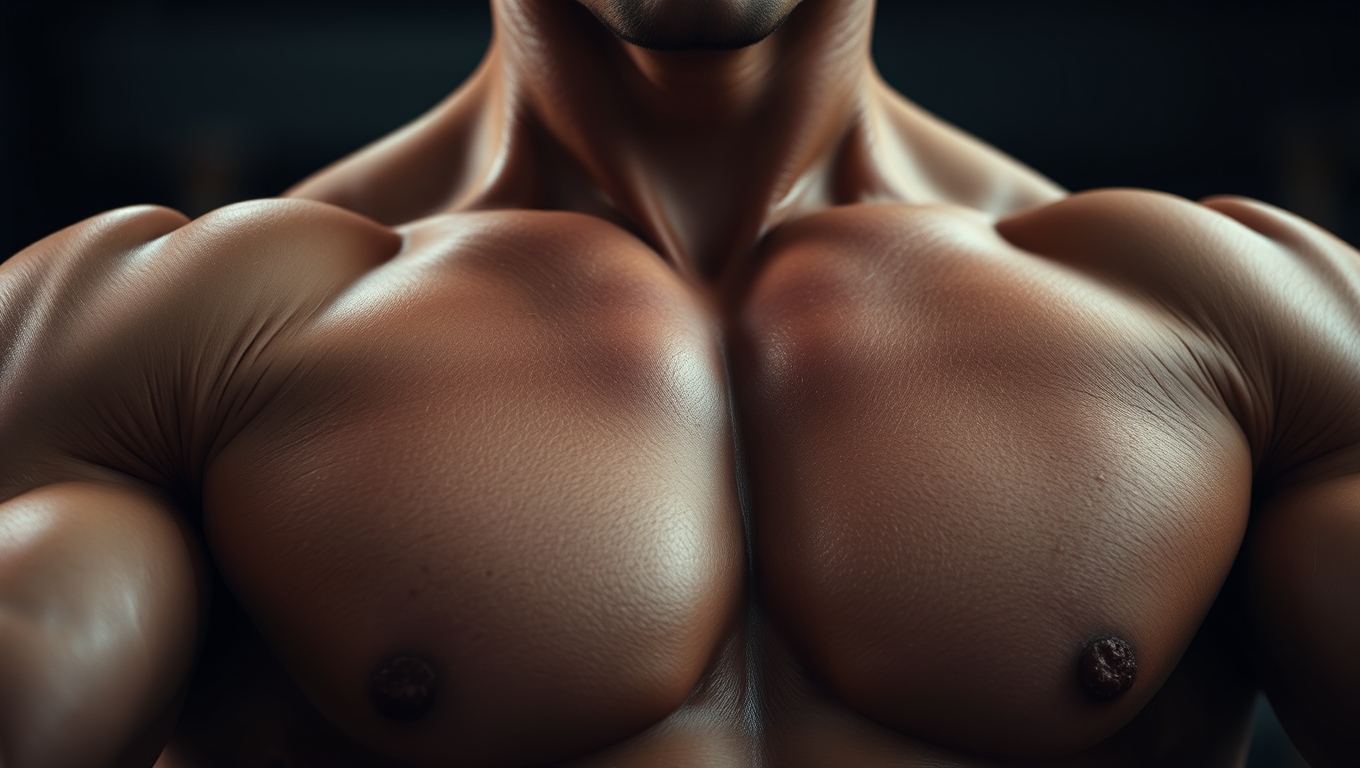
Look, I’m going to be real with you. The upper chest is stubborn. In my years of coaching, I’ve seen countless guys walk into the gym, load up the flat bench, and press until their shoulders ache, only to wonder why their chest looks “droopy” or lacks that squared-off, armor-plate look.
The missing link is almost always the clavicular head the upper portion of the pectorals.
Now, there is a massive misconception floating around the fitness industry that you need an adjustable bench and heavy dumbbells to fix this. That is a lie. You can build a thick, dense, and powerful shelf using nothing but gravity and leverage.
If you are looking for an effective upper chest workout at home, you have come to the right place. As a coach, I specialize in functional hypertrophy. I don’t care how much you can lift; I care how well you can move your own bodyweight and how good your form is. Today, we are ditching the weights. We are going to target those upper fibers with laser precision using biomechanics, not heavy iron.
Let’s get to work.
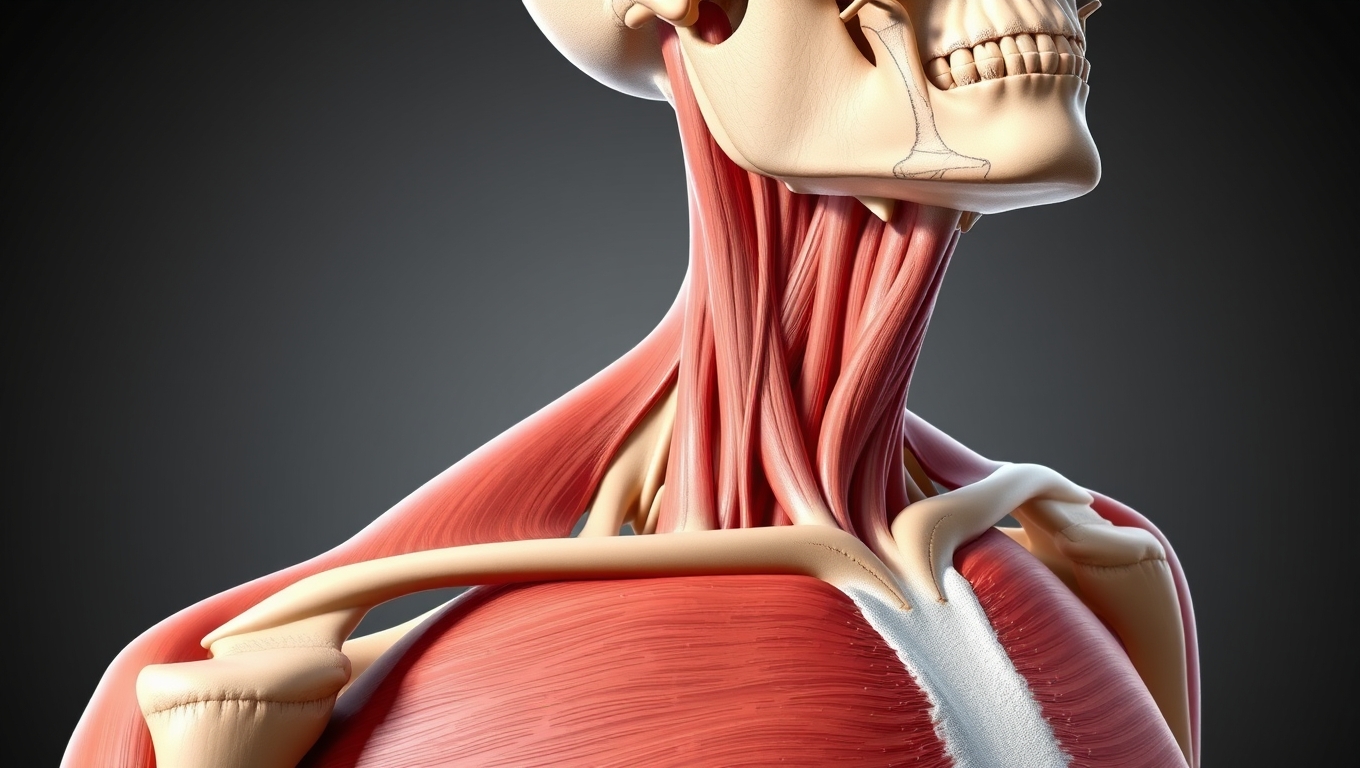
The Anatomy Simplified: Understanding the Clavicular Head for Better Growth
Before we drop down and start pushing, you need to understand what you are actually trying to build. The pectoralis major is divided into two main heads: the sternocostal head (the big, middle/lower meat of the chest) and the clavicular head (the upper chest).
The clavicular head attaches to your collarbone (clavicle). Its primary function is chest flexion raising your arm upward and across your body.
Think about the standard bench press. It involves pushing straight out. This is great for the middle chest, but it often leaves the upper fibers under-stimulated. To target the upper chest, the angle of the push must change. We need to press moving the arms upward relative to the torso.
In a gym, we do this with an incline bench. In an upper chest workout at home, we manipulate our body angle. By elevating your feet or adjusting your hip position, we shift the load of gravity squarely onto those upper fibers.
Preparation: Essential Warm Up Routine to Protect Your Shoulders
You cannot go 0 to 100 on these exercises. The shoulder joint is the most mobile joint in the body, which also makes it the most unstable. Because upper chest movements involve a lot of front deltoid activation, skipping a warm-up is a one-way ticket to rotator cuff injury.
Spend 3-5 minutes on this dynamic sequence:
- Arm Circles (Large and Small): 30 seconds forward, 30 seconds backward.
- Scapular Retractions: Stand tall, arms by your side, and squeeze your shoulder blades together. Hold for a second, release. Do 15 reps.
- Wall Slides: Stand with your back against a wall. arms in a “W” shape. Slide them up into a “Y” while keeping contact with the wall. This activates the rear delts and opens up the thoracic spine.
- Band Pull-Aparts (if you have a band) or Doorway Stretch: Open up the tight pecs before you contract them.
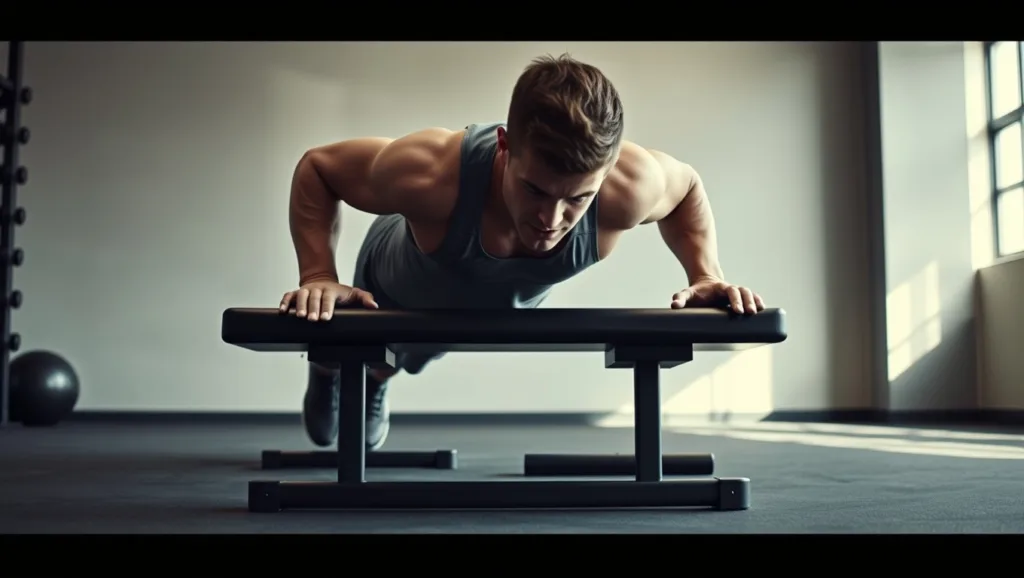
Exercise 1: Incline Pushups The Perfect Entry Point for Beginners
Let’s clarify the terminology because this trips up a lot of beginners.
- Incline Pushups: Hands elevated on a surface (bench, couch), feet on the floor.
- Decline Pushups: Feet elevated, hands on the floor.
Strictly speaking, incline pushups biomechanically target the lower chest more than the upper chest because the pushing angle resembles a decline bench press. However, they are listed here as the first step for a very specific reason: Volume and Activation.
If you are a true beginner, doing strict upper-chest-focused pushups (which are harder) might be impossible. Incline pushups allow you to establish a mind-muscle connection and get blood flowing into the whole pectoral girdle without failing after two reps.
How to do them:
- Place your hands on a sturdy surface like a couch arm or a sturdy chair.
- Step your feet back until your body forms a straight line from head to heels.
- Lower your chest to the edge of the surface.
- Press back up aggressively.
Use this movement to “wake up” the chest before moving to the harder variations.
Exercise 2: Decline Pushups The Gold Standard No Equipment Chest Workout
This is the main event. If you only do one exercise from this article, make it this one. When we talk about a no equipment chest workout that actually builds the “shelf,” the Decline Pushup is King.
By elevating your feet, you shift the center of gravity toward your head. When you press up, your arms are pushing relative to your torso at an upward angle—mimicking the Incline Barbell Bench Press.
Adam’s Form Cues:
- The Setup: Find a surface about knee-height (a chair, bed, or sofa). Place your toes on it.
- The Hands: Place your hands on the floor slightly wider than shoulder-width.
- The Core: This is crucial. Squeeze your glutes and brace your abs. Do not let your lower back sag. If you sag, you turn the move into a weird flat pushup and lose the upper chest isolation.
- The Movement: Lower your upper body until your nose nearly touches the floor.
- The Pushing Path: Don’t just push “up.” Imagine you are pushing the floor away from you and slightly backward toward your feet. This mental cue ignites the clavicular head.
Exercise 3: Pike Pushups Bridging the Gap Between Shoulders and Upper Pecs
The Pike Pushup is often viewed as a shoulder exercise and it is. However, the upper chest and the front deltoids work in unison. To build a massive upper chest, you cannot ignore the tie-in where the pec meets the shoulder.
This exercise provides a high degree of flexion, hitting the very top fibers of the clavicular head.
Execution:
- Start in a standard pushup position.
- Walk your feet forward and lift your hips high into the air. You should look like an inverted “V” (Yoga Downward Dog position).
- Keep your legs straight (or slightly bent if your hamstrings are tight).
- Lower your head toward the floor between your hands. Look at your feet, not the floor.
- Press back up, shrugging your shoulders at the top.
Adam’s Pro Tip: The more vertical your torso is, the more it hits the shoulders. For upper chest, keep the angle roughly 45 to 60 degrees, not fully vertical.
Exercise 4: Diamond Pushups Adding Tricep and Inner Chest Tension
While often cited as a tricep builder, the Diamond Pushup (or Close-Grip Pushup) is phenomenal for the inner portion of the upper chest. Because your hands are close together, you get a much stronger peak contraction at the top of the movement.
When combined with the decline position (feet elevated), this becomes a devastating finisher for the upper chest.
Execution:
- Assume your pushup position (Standard for beginners, Decline for advanced).
- Bring your thumbs and index fingers together to form a diamond shape directly under your chest.
- Lower down with control. Your elbows should stay close to your ribs, not flared out.
- Press up and squeeze the chest hard at the top.
Bodyweight Pec Exercises: Using Tempo and Isometrics for Maximum Muscle Fiber Recruitment
Here is the secret sauce that most home workouts miss. When you don’t have heavy weights, you cannot rely on mechanical load alone. You must rely on metabolic stress and mechanical tension created by how you move.
To get the most out of these bodyweight pec exercises, we are going to use Tempo and Isometrics.
The 3-1-3 Tempo
Stop bouncing up and down. Momentum kills muscle growth. For your next set of decline pushups, try this:
- 3 Seconds Down: Lower yourself slowly. Fight gravity.
- 1 Second Pause: Hold at the bottom, just an inch off the floor. Do not rest on the floor; hover.
- 3 Seconds Up: Push up slowly and deliberately.
Isometric Squeezes
Between sets, stand up. Clasp your hands together in front of your chest (prayer position) and press your palms together as hard as you can while slightly raising your elbows. Hold this for 15 seconds. This creates an intense isometric contraction in the upper chest, pumping blood into the muscle and improving your mind-muscle connection for the next set.
The Ultimate 20-Minute Upper Chest Workout at Home Routine
Alright, enough theory. Here is the routine. This is a circuit. You will move from one exercise to the next with minimal rest (45-60 seconds). Do 3 to 4 rounds depending on your fitness level.
Circuit Breakdown:
- Decline Pushups: 10 – 15 reps
- Focus: Controlled negative (eccentric).
- Pike Pushups: 8 – 12 reps
- Focus: Top of the chest/shoulder tie-in.
- Decline Diamond Pushups: To Failure
- Focus: Squeezing the inner line of the chest.
- Isometric Palm Press: 20 Seconds
- Focus: Maximum tension.
Rest: 90 seconds between full rounds.
Note: If you cannot do Decline Diamonds, switch to Standard Flat Diamond Pushups.
Common Form Mistakes Beginners Make and How to Fix Them
I see form breakdowns every day in videos clients send me. When doing incline pushups or decline variations, small errors significantly reduce the effectiveness of the workout.
1. The Elbow Flare
The Mistake: Flaring your elbows out 90 degrees from your body (making a “T” shape).
The Fix: This destroys your shoulders. Tuck your elbows in at a 45-degree angle (making an arrow shape).
2. The Hip Sag
The Mistake: Letting your hips drop toward the floor.
The Fix: This usually means your core is weak. Squeeze your glutes. Your body must remain a rigid plank. If you can’t maintain it, regress to a simpler variation.
3. Half Reps
The Mistake: Only going halfway down or halfway up.
The Fix: Full range of motion is non-negotiable for hypertrophy. Chest to floor, full lockout at the top.
Progressive Overload Without Weights: How to Keep Getting Stronger
You might be thinking, “Adam, eventually this will get too easy.” You’re right. That’s a good problem to have. In the gym, we add weight plates. At home, we change the leverage.
Here is how you apply progressive overload to your upper chest workout at home:
- Increase the Angle: The higher your feet are for decline pushups, the more weight is shifted to your upper body. Move from a chair to a table, or even do wall-assisted handstand pushups eventually.
- Add a Pause: Increase the bottom pause from 1 second to 3 seconds. It makes a 10-rep set feel like a 30-rep set.
- Weighted Vest/Backpack: Put some books in a sturdy backpack and wear it. Instant weighted pushups.
- Archer Pushups: This is an advanced variation where you shift your weight to one side, effectively doing a one-arm pushup assist. This significantly increases the load on the working pec.
Conclusion: The Power of Consistency and Next Steps for Your Fitness Journey
Building a physique you are proud of doesn’t require a membership card. It requires the discipline to show up on your living room floor when you’d rather be watching Netflix.
This upper chest workout at home is designed to eliminate excuses. You have the anatomy knowledge, you have the routine, and you have the progression plan. The clavicular head is a stubborn muscle, but it responds to consistency.
Don’t expect overnight miracles. Give this routine 8 weeks. Focus on feeling the muscle work, not just counting reps. Master your bodyweight, and I promise you, the results will speak for themselves.
Now, get off the screen and get on the floor. Let’s grow.